

Introduction
Fence staining in Melbourne can help restore the colour of weathered timber and protect it from everyday exposure to sun and rain. However, the results depend on the condition of the timber, the preparation and the stain you choose.
This guide explains how fence staining works, how stain differs from paint, how to choose a stain and colour, and the steps from the first inspection to the final coat. It also covers common mistakes, maintenance and when professional help is worth considering.
What Is Fence Staining and Why Does It Matter?
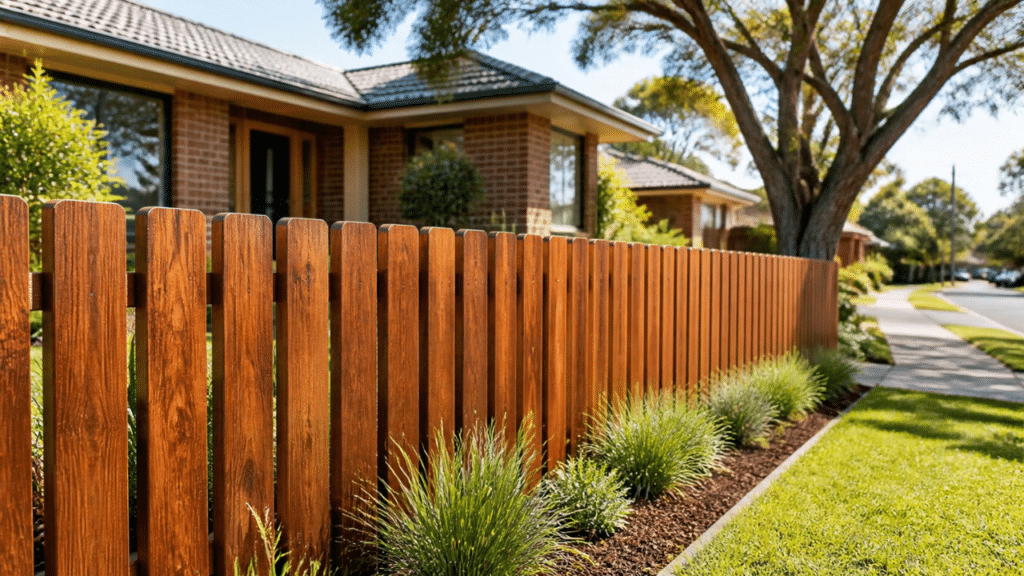
Fence staining means applying a clear or pigmented timber stain so the product soaks into the surface instead of forming a thick film on top. A stain can add colour, even out patchy boards and help protect the timber from moisture and UV exposure.
Outdoor timber changes constantly. UV light fades the surface and turns it grey. Rain makes boards swell, and the sun then dries and shrinks them, which leads to cracks and rough grain. In Melbourne, a fence can face hot, dry summers and wet winters in the same year. Shaded sections often stay damp enough for mould and algae to grow.
A good stain slows this weathering, but it is not permanent waterproofing, and it cannot repair damaged timber. How long it lasts depends on the product, the timber, the exposure and how well you maintain it.
Fence Paint Versus Stain: What Is the Difference?
The main difference is where the product sits. Paint forms a solid film on the surface. Stain soaks into the timber.
- Paint covers the grain completely and gives a solid colour. It can hide wear and patchy boards, but if moisture gets behind the film, it may blister or peel.
- Stain can leave the natural grain visible, depending on the type. Penetrating stains usually fade or wear gradually rather than peel, which often makes recoating simpler.
Paint tends to suit fences with a lot of surface damage or old coatings. Stain suits sound timber where you want the grain to stay visible. Neither works well over poor preparation.
If you are unsure which suits your fence, our fence painting page explains how we handle timber, Colorbond and metal fences, and staining can be discussed as part of a quote. Our guide to painting a fence in Melbourne covers the paint side in more detail.
How to Choose the Best Stain for a Fence
There is no single best stain for fence timber. The right choice depends on the timber, the existing finish, the look you want and how much sun and moisture the fence receives.
Transparent, Semi Transparent and Solid Colour Stains
- Transparent wood stain has little or no pigment. It shows the full grain but changes the colour only slightly. It usually offers less UV protection, so it may need recoating sooner.
- Semi-transparent stain adds a tint while the grain stays visible. The pigment helps with UV protection, so it suits many timber fences.
- Solid colour stain hides the grain and evens out colour differences between boards. It looks closer to paint, although the timber texture remains visible.
These categories are not available in every product range, and not every stain suits every timber or existing coating. Check compatibility on the label before you buy.
Other Things to Check
Timber species and age matter. New timber, weathered palings, hardwood and treated pine can absorb stain very differently, and some products require new timber to weather before staining. Oil based and water based stains also behave differently. Follow the manufacturer’s instructions and technical data sheet for preparation, coverage, number of coats and recoat times.
Popular Fence Stain Colours and How to Choose Them
Fence stain colours range from light natural timber tones and warm browns to grey washes and deep charcoal. Grey and charcoal finishes are popular on newer and renovated homes, while natural tones suit established gardens and timber decks.
The same colour can look quite different on different timber. A stain on pale pine will usually look lighter and more even than the same stain on dark, dense hardwood. Boards that have weathered unevenly or been treated before may also show patchy colour.
Check the colour on the actual fence, in both morning and afternoon light, and compare it with brickwork, roofing and paving. If you want help matching the fence to the rest of the exterior, a colour consultant can narrow down the options.
The Fence Staining Process: Step by Step
Whether you do the work yourself or hire a painter, the fence staining process follows the same order. Skipping steps is the most common reason for patchy results.
1. Inspect the Fence and Check Its Existing Finish
Walk the full fence line and check every board, rail and post. Look for grey or faded timber, flaking remnants of an old coating, mould, algae, splintering and soft sections. Press a screwdriver tip into suspect areas. If it sinks in easily, the timber may be rotten.
Note any areas that stay damp or receive little sunlight, because they dry slowly and often grow mould first. Also work out what is on the surface now. An old paint or varnish affects every later step.
2. Clean the Timber
Remove dirt, cobwebs, loose coating, mould and algae. Use a fence or timber wash suitable for the surface and a stiff brush for stubborn growth. A pressure cleaner can help, but high pressure can gouge softer timber and raise the grain, so use a low setting and keep the nozzle moving. Protect nearby plants and rinse thoroughly.
Fence cleaning matters because dirt and mould block absorption and can show through the finished colour.
3. Allow the Fence to Dry Thoroughly
Damp timber does not absorb stain properly and can lead to blotches or poor adhesion. Drying can take several days of dry weather, and shaded or low sections may take longer. Check the label for any moisture requirements, and avoid starting if rain is forecast during application or drying.
4. Repair Damaged Boards and Prepare the Surface
Replace boards that are rotten or structurally weak, because stain will not strengthen them. Secure loose palings, reset popped nails and fill minor cracks with an exterior timber filler. Filled areas can absorb stain differently from the surrounding timber, so keep repairs small and include them in your test patch.
5. Sand or Remove Old Coatings Where Required
Sand rough grain, splinters and raised fibres so the stain absorbs more evenly. Wear a dust mask and eye protection.
If the fence has old paint, varnish or sealer, stain may not penetrate it. Depending on the new product, loose or incompatible coatings usually need to be removed back to bare timber. A simple check is to sprinkle water on the surface. If it beads, a coating is probably still present. Older painted surfaces may contain lead, so have the paint tested before sanding if the fence is very old.
6. Test the Stain on a Small Area
Apply the stain to a low visibility spot, such as the back of a gate or a lower board. Let it dry, then check the colour, absorption and finish in daylight. This shows how your timber reacts and costs very little compared with redoing a whole fence.
7. Apply the Stain According to the Manufacturer’s Instructions
Follow the label for stirring, temperature and weather conditions. Apply the stain with a brush, roller, pad or sprayer, working along the grain. Keep a wet edge by finishing one section before starting the next, which avoids lap marks. Brush into end grain, gaps and joins, because these areas absorb the most. Remove or back brush any excess as the product directs.
Whether you need one coat or two depends on the product and the timber. If the fence is shared, speak to your neighbour before staining the other side.
8. Allow Adequate Drying and Curing Time
Drying and curing are not the same. A fence may feel dry to touch within hours, but a full cure takes longer. The label gives the recoat time and cure time. Keep sprinklers, pets and children away until the stain has cured, and avoid rain exposure where the product advises against it.
Common Fence Staining Mistakes to Avoid
- Staining damp timber, or starting when rain is forecast.
- Skipping cleaning and leaving mould or algae under the stain.
- Staining over old paint or sealer without checking compatibility.
- Leaving out the test patch before staining the fence.
- Applying too much product, which can leave sticky, glossy patches instead of absorbing.
- Working in strong midday sun, which makes stain dry too quickly and leaves lap marks.
- Ignoring the label on coats, recoat times and cure times.
- Staining over boards that need repair or replacement.
How to Maintain a Stained Timber Fence
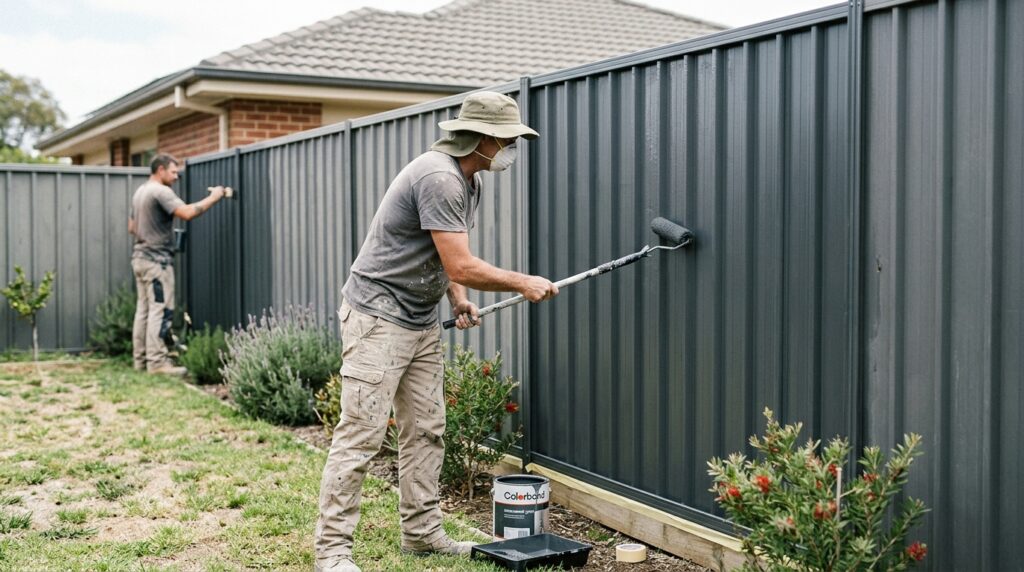
Wash the fence now and then with a mild cleaner and a soft brush to remove dirt and early mould. Inspect it at least once a year for fading, cracks, raised grain and areas where water no longer beads on the surface.
Keep garden beds, soil and mulch away from the base of the boards, and direct sprinklers away from the fence. Trim plants that hold moisture against the timber, and clear leaf litter from the bottom of the panels.
Recoat before the timber turns bare and grey. Recoating a sound stain is generally easier than restoring weathered raw timber. The right interval depends on the product, the exposure and your upkeep, so there is no fixed schedule that suits every fence.
When Should You Hire Professional Fence Staining Services?
Many homeowners can stain a short, easy fence themselves. Professional help is worth considering when:
- The fence is long, tall or hard to reach safely.
- There is extensive rot, splitting or other damage.
- Some sections stay damp or grow mould repeatedly.
- You do not know what coating is on the timber.
- The old finish needs a lot of sanding or removal.
- You want advice on staining versus painting, or on colour.
We can assess the fence during a free on site quote and explain what the timber needs. Fence staining services are discussed as part of our fence painting work, alongside timber repairs and preparation. If you are also considering other outdoor surfaces, our exterior painting service covers the wider scope.
Frequently Asked Questions
How often should a timber fence be stained?
There is no single interval. It depends on the product, the timber, the amount of sun and moisture and how well the fence is maintained. Inspect it every year and recoat when the colour fades, water stops beading or the timber looks dry and grey.
Is fence paint better than stain?
Neither is better in every case. Paint hides the grain and surface damage, while stain keeps the timber look. The right choice depends on the condition of the fence and the finish you want.
What is the best stain for a fence?
It depends on the timber and the look you want. Semi transparent stain keeps the grain visible with some pigment for UV protection, and solid colour stain hides differences between boards. Check the product label for compatibility with your timber and existing finish.
Can you stain an already painted fence?
Usually not directly. Stain needs to soak into the timber, and paint or sealer can block it. The old coating generally needs removing, unless the product label says it can be used over that particular finish.
How long does fence staining take to dry?
A stained fence may be touch dry within hours, but recoat and full cure times vary by product. Temperature, humidity and shade all affect drying, so follow the label for each stage.
What affects the cost of fence staining?
Fence length and height, timber condition, access, cleaning and sanding requirements, repairs, the product chosen and the number of coats all affect the price. A fence in poor condition needs more preparation, which adds to the work.
Planning Your Fence Staining Project
Good results come from careful preparation, a compatible product and patience with drying times. If you would like advice on your fence, or help with the work, contact Sam Simon Painters to arrange a free quote.