Preparing walls for painting takes more effort than the painting itself, and it decides how good the finish looks. Peeling paint, grease marks, small holes, hairline cracks and dust all show through fresh paint. They can also stop the paint from sticking properly.
This guide shows you how to prep walls for painting in nine clear steps, from the first inspection to the final check. Follow the order, and preparing walls for painting becomes a simple routine. You will also learn how to handle repainting, which mistakes cost the most time and when a professional makes sense.
Why Preparing Walls for Painting Matters
Paint grips best on a clean, stable and smooth surface. Dirt, grease and dust form a thin barrier between the wall and the paint, and that barrier can cause patchy coverage or poor adhesion.
Cracks and holes stay visible after painting. Rough filler patches also stand out, especially when light hits the wall from the side. Proper wall preparation helps prevent these defects, as well as flaking and bubbling.
Every product you use needs time to dry. Cleaning solutions, fillers, and primers work best when you follow the manufacturer’s instructions, so rushing one stage often creates extra work later.
9 Steps for Preparing Walls for Painting
Quick answer: To prepare walls for painting, work through these steps in order:
- Inspect the walls.
- Clear and protect the room.
- Remove dust.
- Wash the walls.
- Scrape loose paint.
- Fill holes and cracks.
- Sand the repairs.
- Remove sanding dust and prime where needed.
- Inspect the finished surface.
The order matters. Cleaning before filling and dusting before priming saves you from redoing work. Each step is explained below.
1. Inspect the Walls and Identify Surface Problems
Preparing a wall for painting starts with a proper look at its condition. Walk along each wall and check for cracks, holes, dents, peeling paint and stains. Look for greasy patches near kitchens, dirty marks around light switches and chalky residue that comes off on your hand.
Check the existing paint as well. Glossy paint needs a light sand so the new coat can grip. Damaged paint needs repair, and sound paint usually needs only a clean. Also look for moisture damage and mould. Brown stains, bubbling paint and a musty smell can point to a leak or damp problem. Fix the source first, because paint will not solve it.
Minor preparation: nail holes, scuffs, hairline cracks and light dirt.
Needs a professional assessment: large or recurring cracks, water stains, widespread mould and extensive peeling.
2. Clear the Room and Protect Surrounding Areas
Remove pictures, mirrors, curtains and wall-mounted decorations. Move furniture away from the walls, and cover anything that stays with drop sheets.
Protect the floor and fixtures too. Lay drop sheets along the skirting boards and use painter’s masking tape on power points and switch plates. Preparing walls for painting goes faster in a clear room, and you are less likely to damage anything.
3. Remove Dust and Surface Contamination
Brush or vacuum the walls before you wash them. A soft brush or a vacuum with a brush attachment works well. Pay attention to corners, wall edges and the areas around skirting boards, and clear away any cobwebs. Wet dust turns into muddy streaks, so removing it first makes the rest of preparing walls for painting cleaner.
4. Clean Walls Before Painting
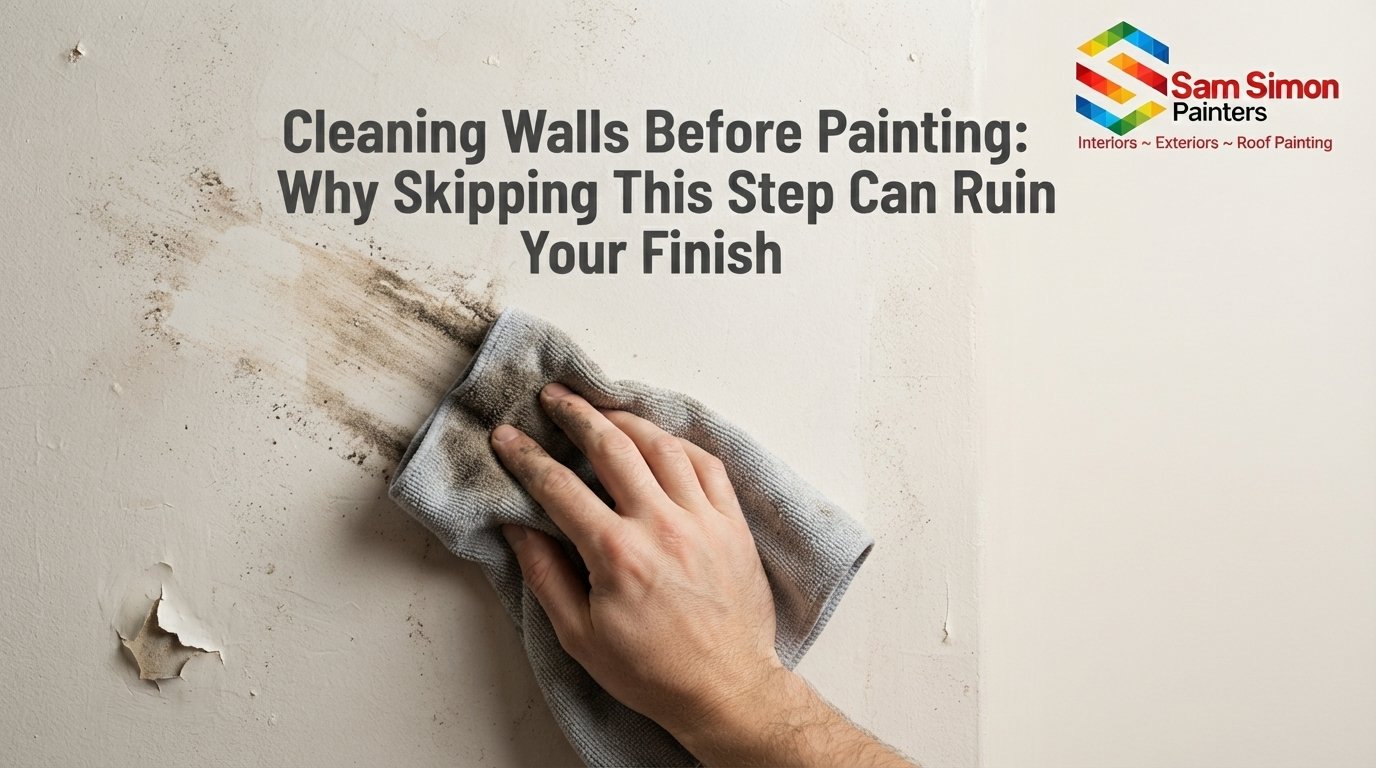
Dusting and washing do different jobs when preparing walls for painting. Dusting lifts loose particles, while washing removes grease, fingerprints and ground-in grime that a dry brush leaves behind.
The best way to clean walls before painting is to use a mild solution, such as diluted sugar soap, with a soft sponge or microfibre cloth. Follow the label for the correct dilution, and test a small hidden patch first. Wipe gently instead of scrubbing hard, because aggressive scrubbing can damage the existing paint. Rinse off the residue as the product instructions direct, then let the walls dry completely. Painting over a damp surface traps moisture and weakens the finish.
What Is the Fastest Way to Clean Walls Before Painting?
Work in sections so the walls never sit wet for long:
- Remove loose dust first.
- Wash one manageable section at a time with a suitable cleaning solution.
- Wipe away the residue.
- Allow enough drying time before you move on.
The fastest way to clean walls before painting depends on how dirty the walls are and what finish they have. A lightly marked bedroom wall takes far less effort than a kitchen wall coated in cooking grease. Never skip the rinse or the drying time to save minutes.
5. Remove Loose and Peeling Paint
Look for flaking, blistering and paint that lifts at the edges. Use a sharp paint scraper to remove anything unstable, because new paint will not hold on a coating that is already letting go. Leave sound paint alone. Scraping firmly attached paint only creates more repair work. Once the loose paint is gone, feather the rough edges with sandpaper so the step between old paint and bare wall disappears.
Wear a dust mask and safety glasses for this step and for any other task in preparing walls for painting that creates dust. Homes built before the 1970s may contain lead-based paint. Do not scrape or sand suspected lead paint yourself. Arrange a professional assessment first, and do the same when peeling covers a large area.
6. Fill Holes, Cracks and Surface Imperfections
Repairs are a big part of preparing walls for painting. Choose a wall filler that suits the surface, whether that is plasterboard, plaster or another material. Press the filler into nail holes, dents and minor cracks with a filling knife, and leave it slightly proud so you can sand it flush.
Deeper repairs need several thin layers instead of one thick layer. Let each layer dry according to the manufacturer’s instructions before you add the next. Cracks come in two kinds. Hairline cosmetic cracks respond well to filler. Wide cracks that return after repair usually signal movement, and ordinary filler will not hold them. The same applies to gaps at joints that expand and contract. A flexible product or a professional repair works better there.
7. Sand the Walls for a Smooth and Even Surface
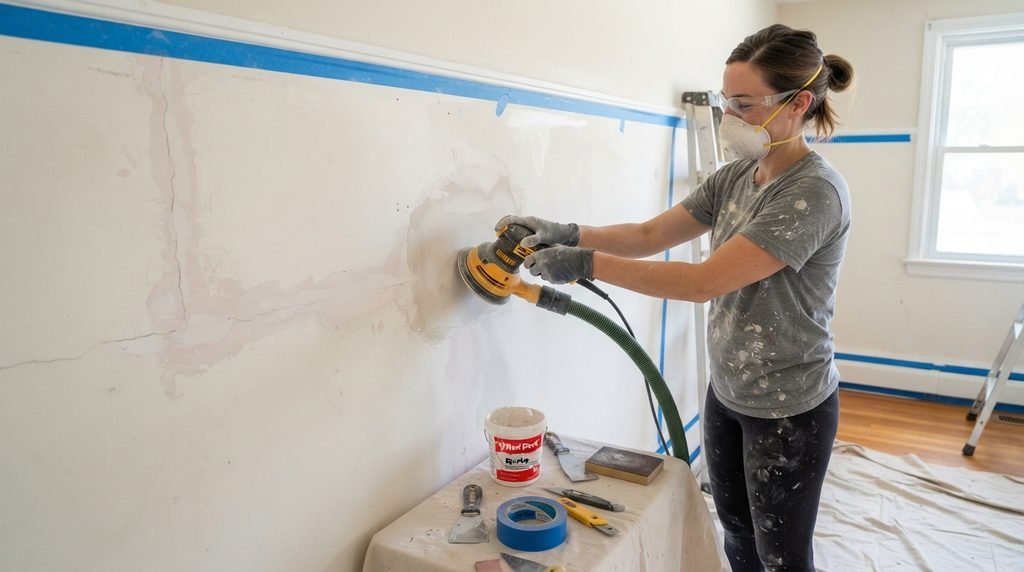
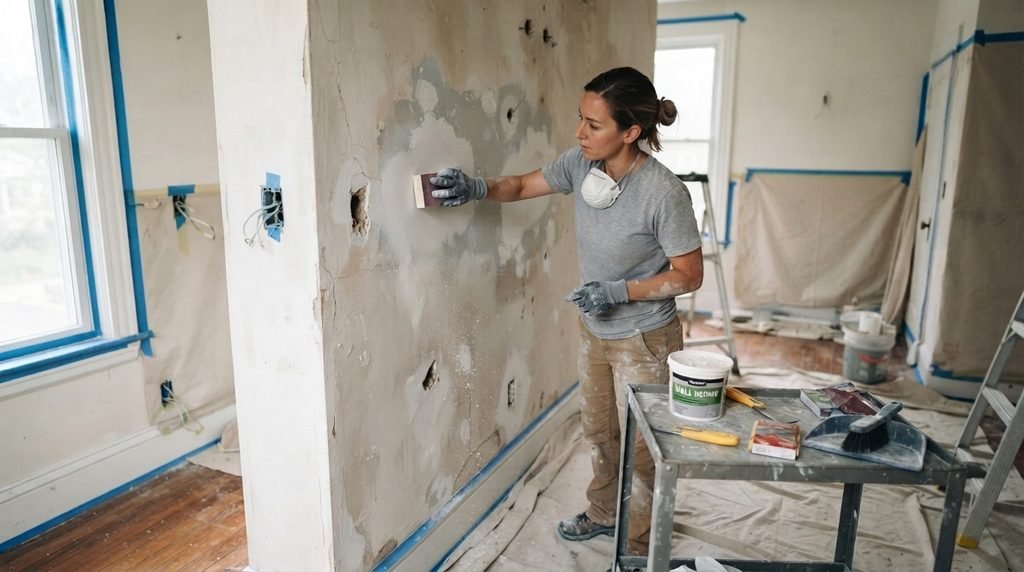
Sanding is where preparing walls for painting shows the most in the final finish. Sand only after the filler has dried completely, because damp filler tears and smears. Use a sanding block with fine sandpaper, and choose the grade to suit the repair and the surface.
Sand each repair until it sits flush with the wall. Smooth any rough paint edges and uneven patches. Avoid sanding too hard, since that wears through the old coating or damages the plaster. Check your work by touch. Run your palm lightly across each repair, then look at it with a torch held at a low angle. Uneven filler becomes obvious after painting, so fix it now.
8. Remove Sanding Dust and Apply the Right Primer
Vacuum the walls, then wipe them with a clean, slightly damp cloth. Let the wall dry again before you continue. Primer comes next, but not every wall needs a full coat. Spot priming works well for repaired sections on walls with sound paint because it stops the filler from soaking up the topcoat unevenly. Bare plaster, new plasterboard, stubborn stains and big colour changes often call for a full coat of primer.
A primer is the last stage of preparing walls for painting before the topcoat. Match the primer to the wall surface and the paint you plan to use. The paint manufacturer’s product information gives the safest guidance. Never apply primer to a damp surface.
9. Complete a Final Wall Inspection Before Painting
Preparing a wall for painting ends with a last look from several angles. Use natural light from a window, then hold a torch at a low angle across the wall. Shadows show up the bumps and dips that normal lighting hides.
Check that all filled and primed areas feel completely dry. Look for leftover dust, rough patches and missed marks. Your wall is ready when it is clean, stable, smooth and dry.
How to Prepare Walls for Repainting
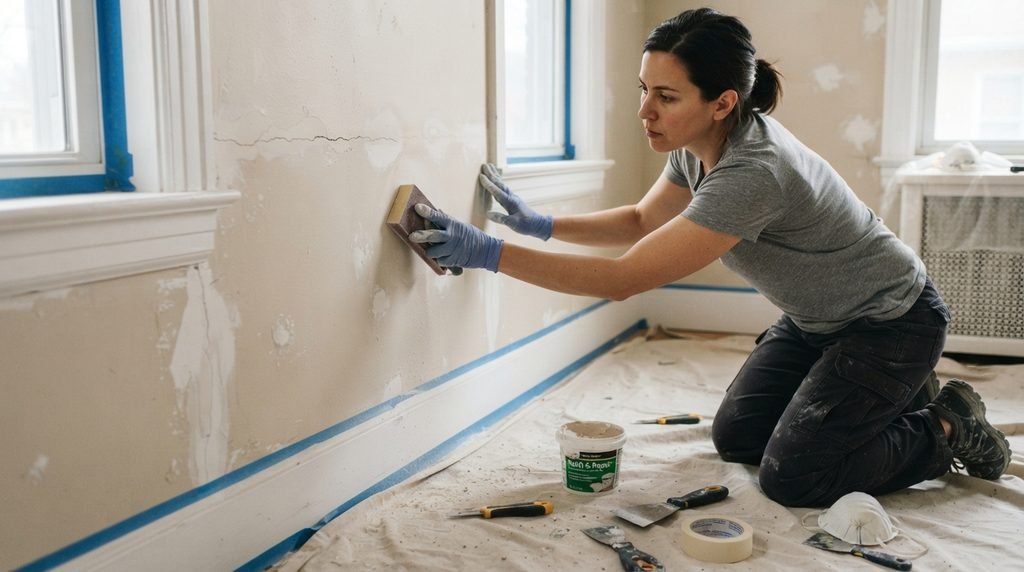
Preparing walls for repainting differs from working on bare plaster because the old coating becomes part of the new paint system. Your first job is deciding whether that coating can stay.
- Check the condition. Look for peeling, bubbling, cracking and discolouration. Stable paint can stay, but anything that lifts or flakes must go.
- Clean thoroughly. Grease, dust and fingerprints block adhesion, so wash the wall before you add another coat.
- Repair instead of covering. Fresh paint will not hide damage for long.
- Sand glossy surfaces. A light sand dulls the shine and helps the new coat grip.
- Prime where needed. Prime repaired, bare and stained areas. A sound, clean wall often does not need a full primer coat.
- Check compatibility. Confirm that the existing coating, the primer and the new paint work together.
Bare walls, in contrast, soak up paint unevenly and nearly always need a full primer coat.
This guide covers general interior walls. Business premises have different demands, and our commercial wall painting guide explains them.
Common Wall Preparation Mistakes to Avoid
Most paint problems trace back to a skipped step in preparing walls for painting. Watch for these:
- Painting over dust or grease. The paint lifts or looks patchy.
- Ignoring peeling paint. The new coat peels along with the old one.
- Rushing the filler. A filler that has not dried shrinks and cracks.
- Sanding damp filler. It tears and leaves a rough finish.
- Leaving sanding dust behind. Dust creates a gritty surface under the paint.
- Using the wrong filler. The repair cracks or stays visible.
- Priming a damp wall. Moisture gets trapped and weakens the coating.
- Overlooking recurring cracks or moisture. The damage returns, and the paint fails again.
Each mistake costs time, because you often have to strip back and redo the work.
How Do You Know When a Wall Is Ready for Painting?
If you are unsure how to prep walls for painting properly, run through this checklist before you open the paint tin:
- The wall is clean and free of grease.
- Loose paint is gone.
- Cracks and holes are repaired.
- Filled areas are smooth and dry.
- Sanding dust is removed.
- Primer is applied wherever it is needed.
- No visible moisture or unresolved problems remain.
The right approach to preparing walls for painting depends on the wall material and its condition. If you feel unsure about a surface, ask a paint specialist or a professional painter before you continue.
When Should You Hire Professional Painters for Wall Preparation?
Some jobs of preparing walls for painting go beyond a weekend of DIY. Consider professional help for extensive peeling, large or recurring cracks, badly uneven surfaces, water stains, suspected moisture problems and mould that needs proper assessment and treatment. Preparing walls for repainting across a whole home also benefits from one team applying the same standard to every wall.
Sam Simon Painters serves Melbourne homes with a licensed and insured team. We work with Dulux and Haymes products, and we prepare every surface before the first coat goes on. Read more about our interior painting services if you want a neat finish without the hard work.
For professional wall preparation and painting assistance, arrange a free on-site painting quote with Sam Simon Painters. We provide a written scope of work, so you know exactly what to expect.
Frequently Asked Questions
How do you prepare walls for painting?
Start by inspecting the walls, then clear and protect the room. Remove dust, wash the walls, scrape loose paint, fill holes and cracks, sand the repairs and clean off the dust. Prime where needed, and finish with a final inspection. Follow the product instructions at each stage.
What is the best way to clean walls before painting?
The best way to clean walls before painting is to dust them first, then wipe them with a mild solution such as diluted sugar soap. Use a soft sponge or microfibre cloth, rinse as the label directs and let the walls dry fully. Avoid hard scrubbing.
What is the fastest way to clean walls before painting?
The quickest method is to remove the dust, wash one section at a time, wipe off the residue and allow drying time. Speed depends on how dirty the walls are. Skipping the rinse or the drying time usually causes problems.
Do walls need to be washed before repainting?
Yes, in most cases. Grease, fingerprints and household grime stop new paint from sticking evenly. Walls that look clean often carry a thin film, especially in kitchens and hallways. A gentle wash removes it, and the wall should dry fully afterwards.
Should you sand walls before painting?
Sand repaired areas so they sit flush with the wall, and lightly sand glossy paint to help the new coat grip. Sound, matt paint needs little sanding. Sand only after the filler has dried, and remove the dust afterwards.
Do you need to prime walls before repainting?
Not always. Spot prime repaired sections, stains and bare patches. A full primer coat suits bare plaster, new plasterboard and large colour changes. Walls with sound, clean paint often need no full primer, but check the manufacturer’s advice for your product.
Can you paint over old paint without sanding?
Sometimes. If the old paint is sound, clean and not glossy, you can often paint over it. Glossy or rough surfaces need a light sand, and peeling paint needs scraping first. Repairs always need sanding before you paint.
How long should walls dry after cleaning before painting?
Drying time varies with the product, temperature, humidity and airflow. Follow the cleaning product’s instructions, and make sure the wall feels completely dry to the touch. Never apply primer or paint to a damp wall.
Final Thoughts
Preparing walls for painting rewards patience. Inspect the surface, clean it, repair it, sand it and prime it in the right order, and the paint goes on smoothly and looks even. Follow these nine steps, and you give your walls the best chance of a neat finish.
If you would rather leave the preparation to experienced hands, contact Sam Simon Painters for a free on-site quote.