
Meta title: Painting a Fence in Melbourne | Tips & Colour Ideas
Painting a fence looks like a weekend job until the paint starts peeling after one wet winter. The right process depends on what your fence is made of, what condition it’s in and which coating you choose. Melbourne’s changeable weather adds another variable, because a warm morning can turn into a cold southerly by lunch. This guide covers the practical steps, from gathering supplies and preparing the surface to choosing a coating, applying it and checking the result. Whether you’re tackling timber palings or a Colorbond fence, the goal is the same: a clean, dry, sound surface and a coating that suits it.
What You Need Before Painting a Fence
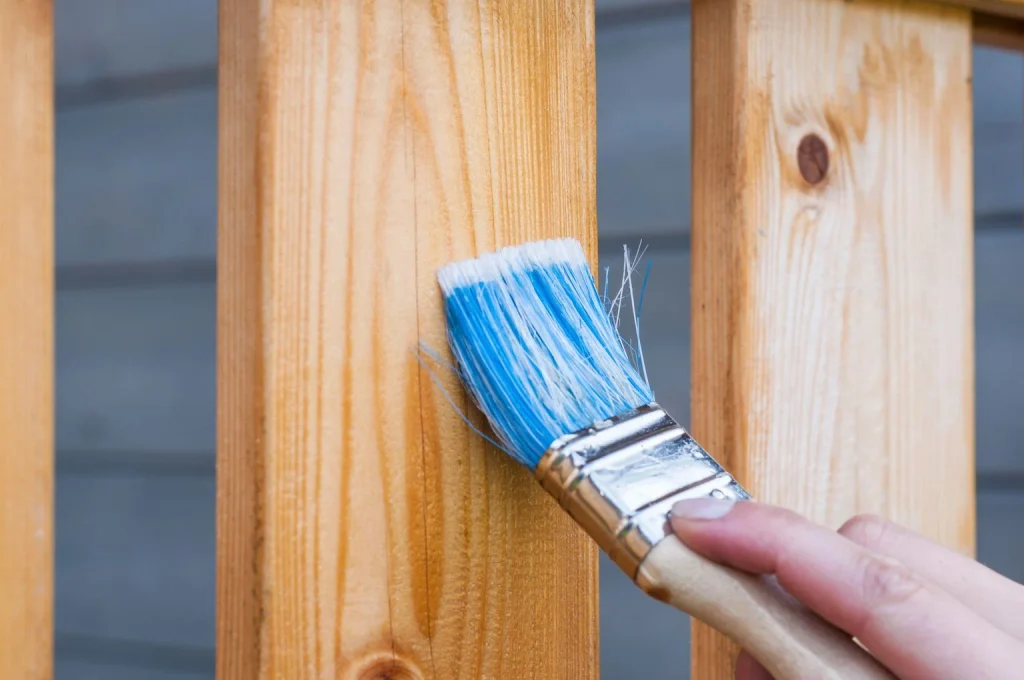
Painting a fence goes more smoothly when everything is ready before you open the first tin. Read the label on your fence paint and primer, because the manufacturer’s instructions set the rules for preparation and recoat times. Timber fence painting usually calls for sandpaper and a primer for bare areas, while metal needs rust treatment and a suitable coating. You’ll generally need:
- Exterior paint suited to the fence material
- A compatible primer where the surface needs one
- Brushes, rollers or a paint sprayer
- Sandpaper, scrapers and a wire brush
- Cleaning equipment and a mould treatment product
- Drop sheets, masking tape, gloves, safety glasses and a dust mask
How to Prepare a Fence for Painting
Anyone who has had to paint a fence twice knows that preparation matters more than the painting itself. Work through these steps in order.
- Inspect the fence for loose boards, rot, rust and flaking paint.
- Brush off cobwebs and dirt, then wash and rinse the surface.
- Treat mould or other growth with a suitable product and rinse as directed.
- Scrape off loose paint and sand rough patches.
- Replace rotten palings, fill small holes and treat surface rust.
- Let the fence dry fully. Painting over damp timber or metal can cause it to bubble and peel, and drying takes longer in cool weather.
- Cover plants, paving and garden beds, and mask adjoining surfaces.
Paint can’t fix an unstable surface. If the old coating is flaking, the new one will flake with it.
Choose the Right Paint for Your Fence
Choosing the wrong product is one of the quickest ways to ruin the effort of painting a fence. Match the coating to the material first and the colour second. A shade can look very different across a long run of fence than on a small swatch, so test a sample patch and check it in morning and afternoon light.
Paint for timber fences
Exterior timber paint forms a solid film over the surface, while stain soaks in and lets the grain show through. Paint hides imperfections and offers more colour choice, but it can peel if it goes over damp or flaking timber. Stain is more forgiving on weathered wood, though it won’t change the colour as dramatically. Bare timber and repaired patches usually need a primer that’s compatible with the topcoat, so don’t mix brands without checking. With timber fence painting, the condition of the existing finish decides how much preparation you’ll need. Once the product type is settled, you can narrow down fence paint colours by testing a sample on a spare paling.
Paint for Colorbond and metal fences
Colorbond steel comes with a factory finish, so start by checking its condition. Clean it thoroughly, remove any chalky residue and look for rust. The same care applies when painting a fence made of metal: use a coating system designed for pre-painted steel and follow the manufacturer’s preparation steps. Ordinary timber paint isn’t automatically suitable for metal, so don’t assume it will bond. If you want to repaint a Colorbond fence, ask your paint supplier to confirm the right primer and topcoat. Colour options can be narrower for metal systems, so check the available fence paint colours before you commit.
Should You Use Primer Before Painting a Fence?
It depends on the material, the existing coating, any repairs and the paint manufacturer’s directions. Bare timber, patched areas and exposed metal usually benefit from a compatible primer. A sound, clean coating might only need a light sanding before the topcoat goes on. If you’re unsure, the label is your best guide.
How to Paint a Fence Step by Step
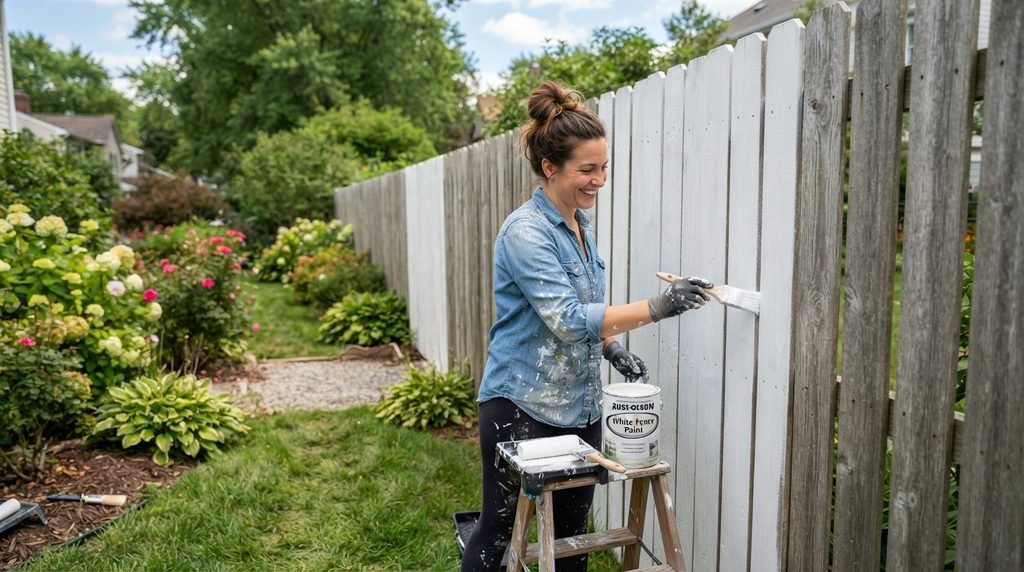
Painting a fence goes best when you follow a set order, so work through these steps one at a time.
- Check the weather. Painting a fence in the wrong conditions can undo hours of work. Compare the forecast for temperature, wind, humidity and rain with the conditions on the label. Avoid hot direct sun and days when rain is due, and check again on the morning itself.
- Apply primer where needed. Cover bare timber, repairs and exposed metal with a compatible primer and let it dry as directed.
- Start with the difficult sections. Brush edges, joins, narrow gaps and hard-to-reach areas first, before they get in your way.
- Paint the main boards or panels. Work in manageable sections. On timber panelling, follow the grain from top to bottom. On metal panels, follow the direction of the ribs.
- Keep coverage even. Avoid heavy build-up, missed gaps and visible joins between sections. Thin coats generally dry better than one thick coat.
- Apply further coats. Wait for the recoat time on the label and make sure the first coat is dry and ready before you continue.
- Inspect the finish. Once the coating has dried enough, check for missed spots, runs and thin patches, then touch them up.
Whichever fence painting techniques you settle on, follow the drying and recoat times on your paint’s instructions rather than a rule of thumb, because they vary between products and conditions.
Brush, Roller or Spray Gun for Painting a Fence?
The best choice depends on your fence design, the surface, access and how confident you are with the equipment. These fence painting techniques each suit different jobs.
- Brush: Good for edges, narrow gaps, corners and detail. It gives the most control but is slow across a long fence.
- Roller: Suits accessible, fairly flat surfaces and covers faster than a brush. Rough timber needs a thicker roller nap.
- Spray gun: Covers large or uneven areas quickly, but needs careful masking and calm weather. Wind carries overspray onto cars, windows and your neighbour’s property.
No method is always best. Many people brush the edges and gaps first, then roll or spray the main areas.
Common Fence Painting Mistakes to Avoid

Most problems with painting a fence trace back to a handful of avoidable errors. The easiest way to paint a fence badly is to rush the early steps.
- Painting before the fence is clean and dry. Dirt and moisture stop paint bonding, so wash, rinse and wait.
- Skipping repairs or primer. New paint won’t hide rot or rust for long, so fix the problem first.
- Using an incompatible coating. Check that the primer, topcoat and existing finish suit each other and the material.
- Painting in unsuitable weather. Wind, rain, heat and humidity all affect how paint sets, so follow the label.
- Applying coats too thickly. Heavy coats can run and sag, so use thin, even layers.
- Recoating too soon. Tacky paint can lift or drag, so wait for the recoat time.
- Missing edges, gaps and backs. Check top edges, gaps between palings and the backs of accessible boards.
- Not protecting surrounding surfaces. Splashes and overspray are hard to remove, so mask and cover first.
How to Check and Maintain Your Painted Fence
Once you’ve finished painting a fence, the job isn’t quite over. Walk the length of it in good light and look for missed spots, thin patches and drips. Let the coating cure for the time stated in the product instructions before leaning anything against it or washing it. Knowing how to paint a fence also means knowing when to leave it alone. After that, clean it gently with mild soapy water and a soft brush, and watch for peeling, corrosion or timber deterioration so small problems get fixed early.
FAQs About Painting a Fence
How do you paint a timber fence for an even finish?
Clean and dry the timber, repair damage and prime bare areas. Paint edges and gaps first with a brush, then work in sections along the grain with thin, even coats. Avoid heavy build-up and follow the recoat time on the label.
Does a fence need to be completely dry before painting?
Yes. Painting over damp timber or metal can trap moisture and cause bubbling, peeling or poor adhesion. After washing, let the fence dry fully, which takes longer in cool or humid weather. Check the paint label for any moisture requirements.
Do you need to prime a timber fence before painting?
Often, but not always. Bare timber and repaired patches usually need a compatible primer, while a sound, clean existing coating may only need a light sand. The paint manufacturer’s directions decide it, so check the label or ask your supplier.
Can you paint a Colorbond fence yourself?
Yes, if you prepare it properly and use a coating system designed for pre-painted metal. Clean the surface, check for rust and follow the manufacturer’s directions for primer and topcoat. If the existing finish is failing, get advice before you start.
Is a brush or sprayer better for painting a fence?
Neither is always better. A brush gives control on edges and gaps, while a sprayer covers large areas quickly but needs masking and calm weather. Many people brush the detail first, then spray or roll the main sections.
How many coats of paint does a fence need?
Many fences suit a primer where required plus two topcoats, but it depends on the product, the surface and how much the colour changes. Check the label for the recommended number of coats and aim for thin, even layers.
How long should you wait between fence paint coats?
Follow the recoat time printed on the label, as it varies between products. Temperature, humidity and airflow all change drying time, so cool or damp conditions usually mean a longer wait. The first coat should be dry, not tacky.
What weather is suitable for painting a fence in Melbourne?
Choose a dry, mild day with light wind and moderate humidity, within the temperature range on the label. Avoid hot direct sun, strong northerlies and days when rain is forecast before the paint cures. Check the forecast again on the morning, because conditions change quickly.
Conclusion
Painting a fence well comes down to matching your preparation and application to the fence material. A clean, dry, sound surface, a compatible coating and some patience between coats will do more for the finish than any shortcut. If you’d rather leave the work to a professional, contact Sam Simon Painters for a fence painting assessment and quote, or explore our fence painting services in Melbourne.